
How to Build a Sturdy, Take-Down Whelping Box
My mission is to help you have a healthier dog and breeders to raise healthier Llewellin Setters puppies through educational content based on over twenty years raising, training, and breeding Llewellin Setters. To help support these efforts, this page may contain affiliate links. I may earn a small commission for qualifying purchases at no cost to you.
We’ve built a lot of whelping boxes in our day. Most of the whelping boxes were huge, 4′ x 4′ x 4′ ft monsters and while, very nice, some with hinged, drop-down fronts, seats, etc., once we were done using the boxes, moving and storage until the next litter was an issue, especially when I needed to move them by myself.
Here I show you how I make a whelping box that is easy to take apart, move (even up and down stairs) and fairly easy to store. I was able to build these on my own and I do not have what anyone might consider very good carpentry/building skills.
The finished size of this whelping box is: 4’W x 4’L x 15 3/4″ H
Materials/Supplies:
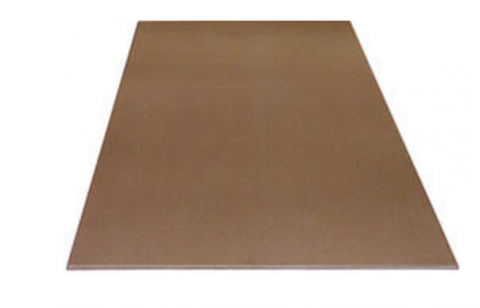
- 4, 48” Long x 24”W (actually 23 ¼” Width) Prefinished Bullnose Shelving Boards (The shelving boards come in a variety of colors. I prefer white or woodgrain.)
or
- 4, ¾” x 15-3/4” x 4’ Shelving boards (4 @ 9.99 ea = $39.96)
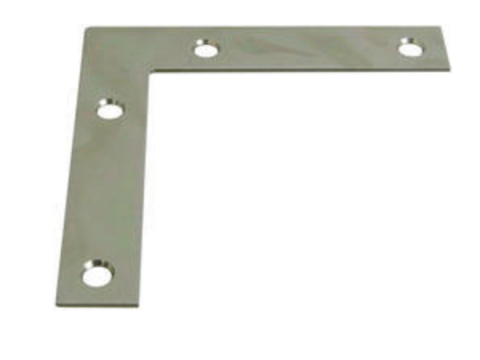
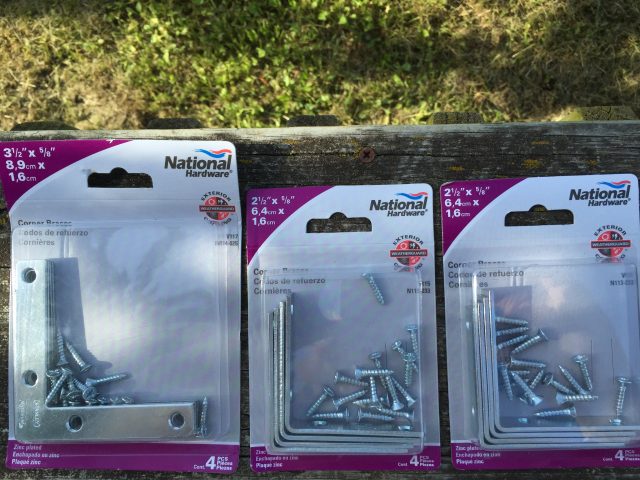
- 4, 4” x ¾” Stainless Steel* Corner Braces (2 @ $5.99 per package of 2 = $11.98)
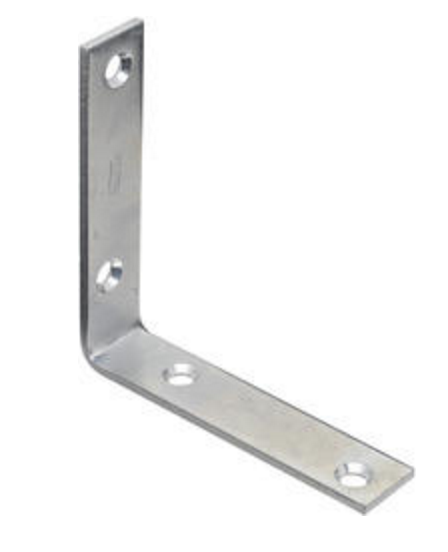
- 8, 4” x 7/8” Stainless Steel* Corner Braces (I call these L braces) ($7.14 per 2 = $28.56)
- Wood screws
Optional Platform Supplies
I prefer to build my boxes on a raised platform lined with vinyl flooring, but you could build the box floorless/standalone and just place it over a large piece of vinyl, or I’ve even heard of folks using a large plastic table cloth on the floor. You would not need to have to store the platform, then. I prefer a raised platform and our puppies do, too. I also find it is really nice to add sheets of insulation between the support pieces to add warmth to the box.
- 1, 4’ square ½” thick plywood or 1 ½ or ¾” Precut 4 x 4’ MDF Panel @ $12.99
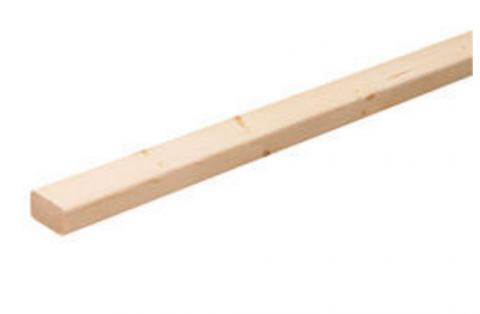
- 3, 2’ x 4’ x 8’s (or 3, 2 x 3 x 8’ Studs – lighter weight @ $1.58=$4.74)
- 1, 4’ square piece of vinyl flooring or a larger piece that extends beyond the box to protect the floor, if not using a platform. (I bought a 6’ x 12’ roll @$24.95)
Costs: $123.18 + $7.40 tax = $130.57
*Note, the Stainless Steel brackets are expensive and you can usually find them much less expensive in Zinc, Brass, or Nickel, but I find they discolor quickly with all of the scrubbing of the whelping box.
Optional Pig Rail Supplies:
- 2- 2” x 10’ DWV/40 PVC Pipe (2 @ $7.99 = $15.98)
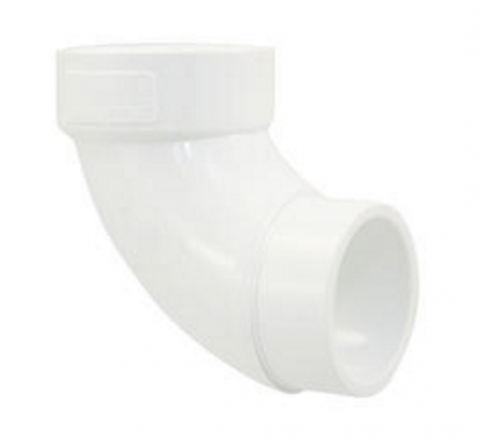
- 4- 2” 90D DWV Sanitary Elbow (4@ 1.49 = $5.96)
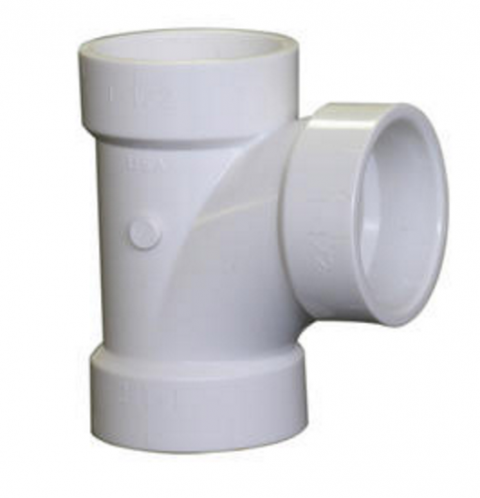
- 4 – 2” PVC-DWV Sanitary Tee (4@ $1.99 = $7.99)
$29.93 + tax
Total Cost of whelping box with platform and pig rail=$165 (note the prices were as of 7/2016)
Build the Whelping Box and Platform
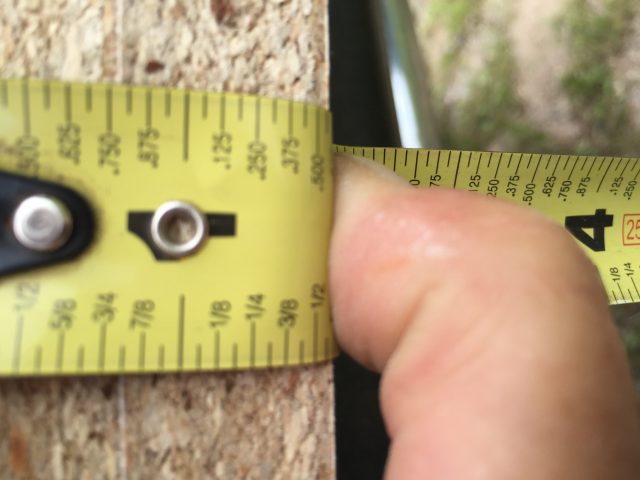
You’ll need to cut two of your shelving boards to allow for the difference in width (so once your box is completed, it will measure 4’x4’x4’x4′. I measured the width of two of the shelving boards together and cut that amount off two of the boards. (For instance, together, the width was 1/2″, so I cut 1/2″ off two boards.)
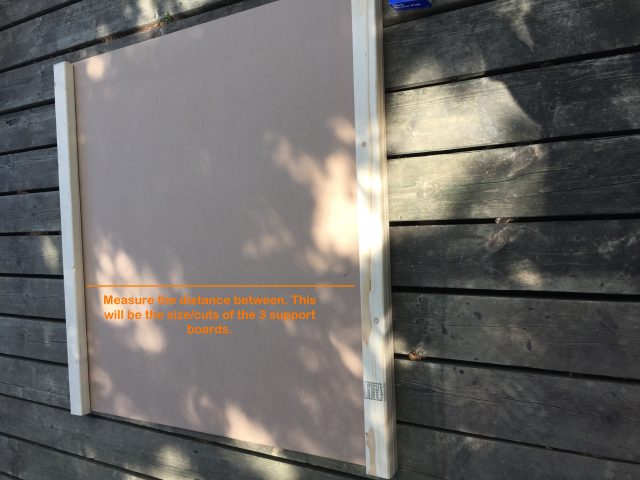
With the shelving boards cut, I started building the platform. I purchased my MDF board in a full 4 x 8″ sheet because I was building two boxes, so I cut it in half (4′ x 4′). Next, I cut the 2×3″ boards. 2 at 4′ and then measure the inside distance between the two to get your measurements for the remaining 2 boards for your frame. I hope that makes sense!
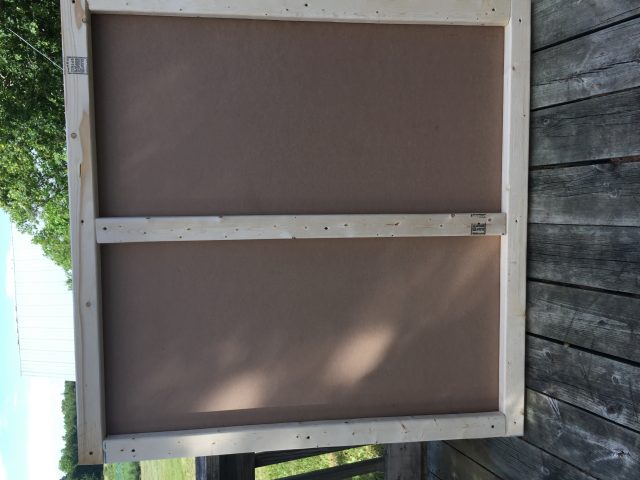
Screw all of your boards on.
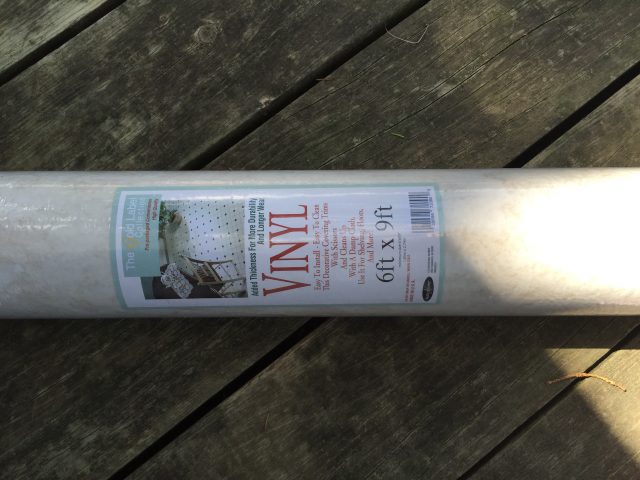
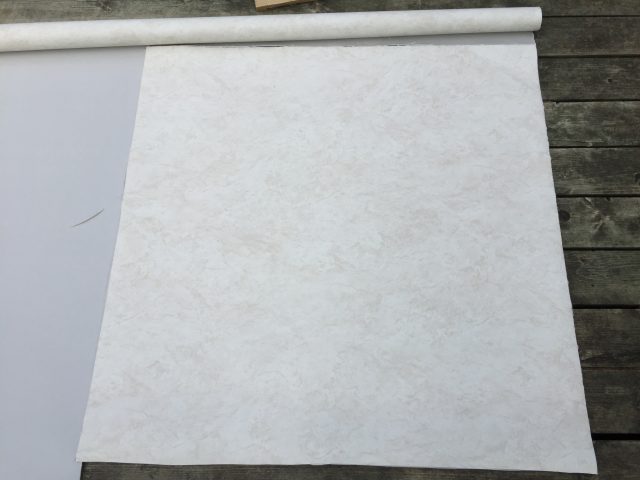
Next, I unrolled the roll of vinyl and cut my 4′ x 4′ piece(s).
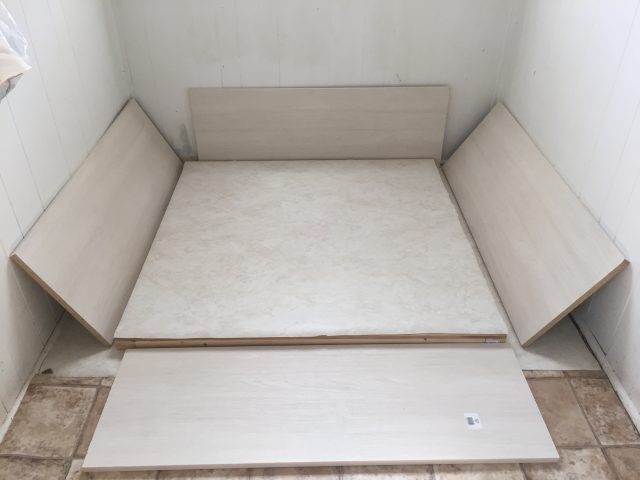
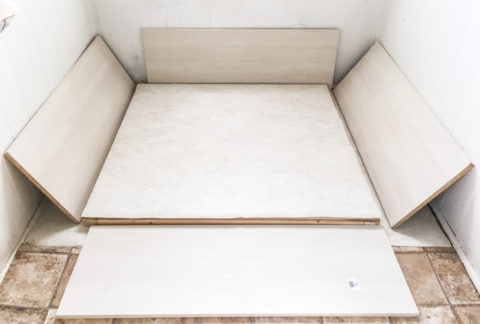
I took everything inside, wiped it down, and laid out my pieces. Note: I do not glue the vinyl down. I just lay it over the platform and put my side boards on top and it gets screwed down with the brackets. This way there are no glues to harm the puppies and I can throw it away after each litter.
I then put it all together with the brackets.
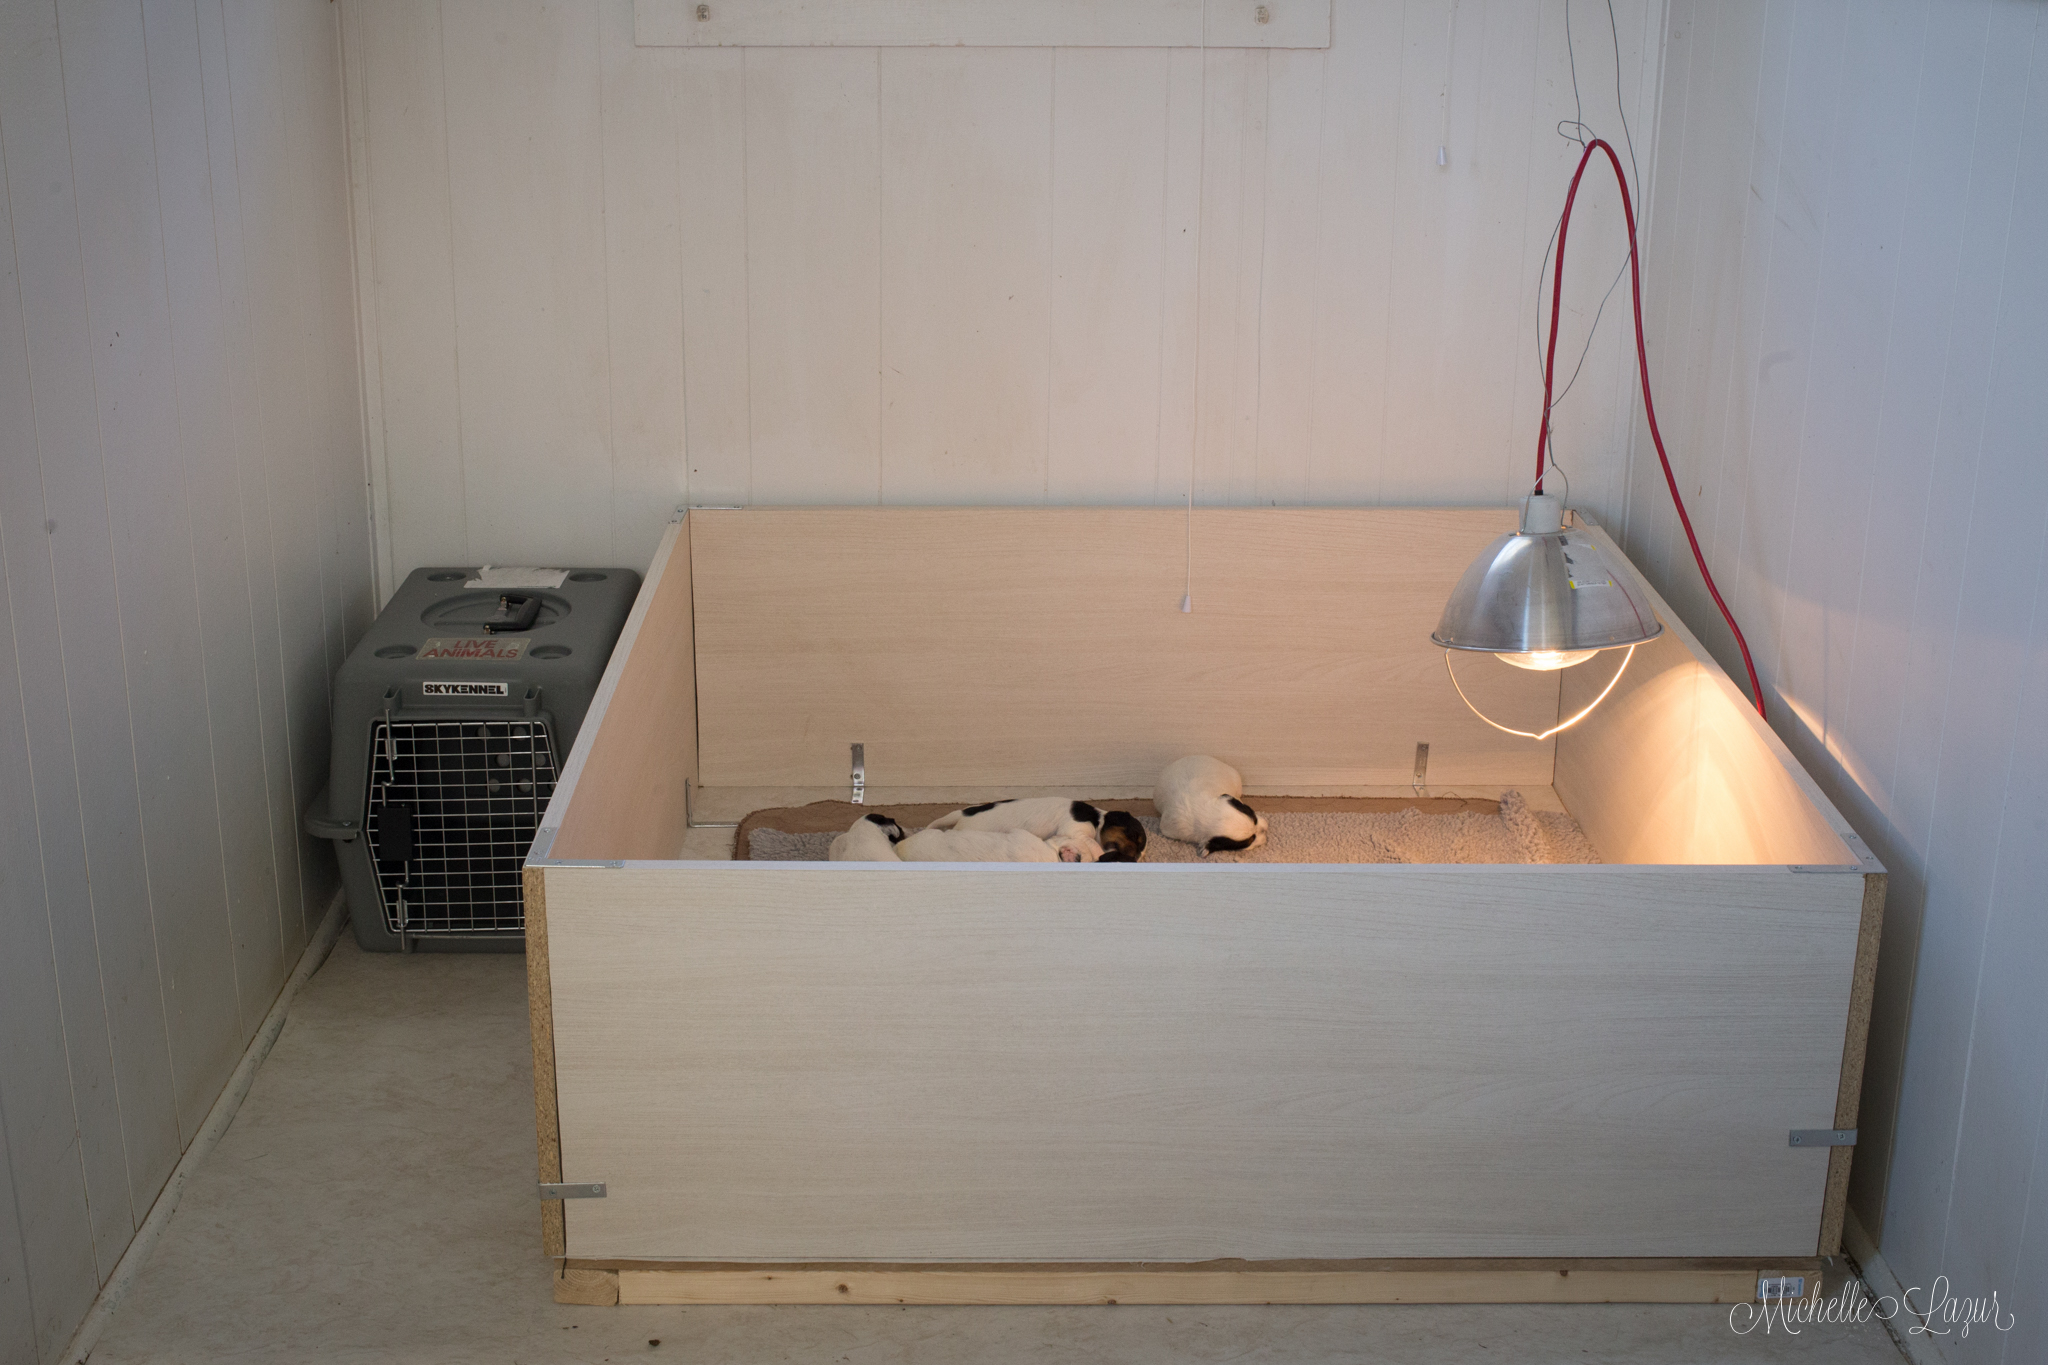
I didn’t think to get the photos of how/where to attach which brackets, but if you click on the photo above, you can see the placement. I use the flat brackets on the top corners. I use the “L” brackets on the inside–2 to each side on the inside and I use one on each outside. When the puppies are ready to get out of the box, by 3-4 weeks of age, I remove one of the sides as you can see in the photo below.
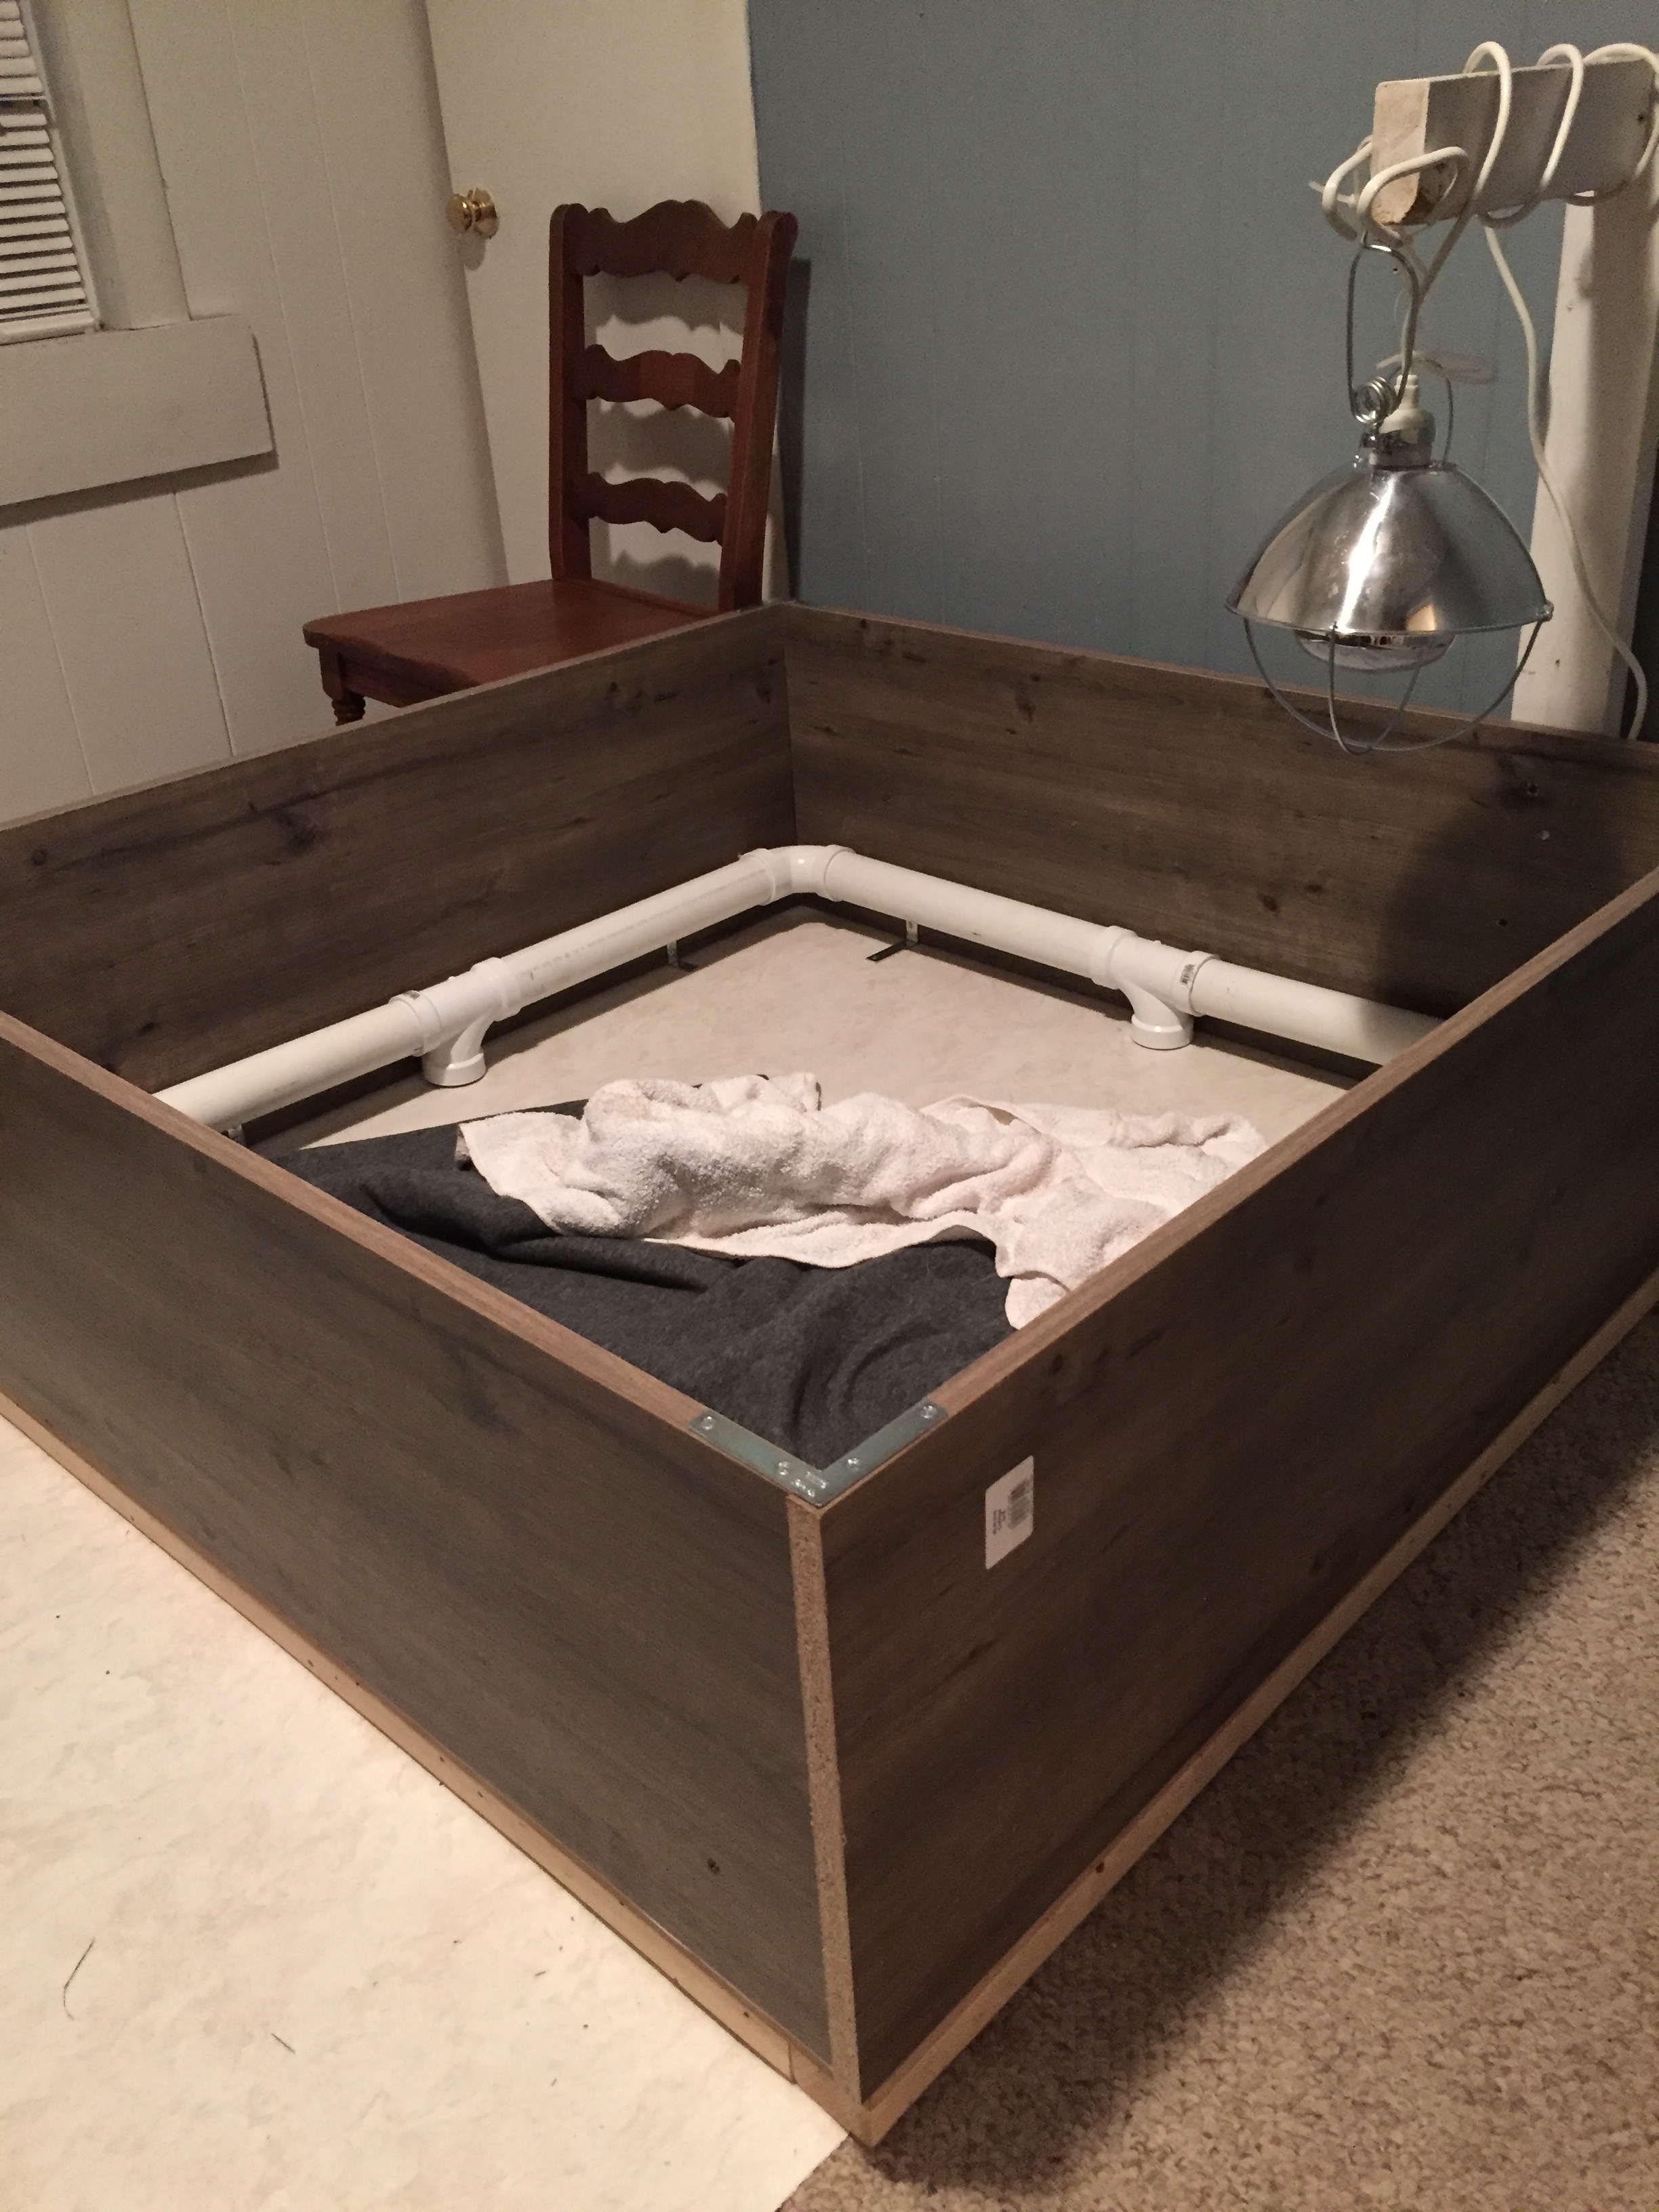
Also, as I was finishing this post, I realized I do not have the photos/instructions for building the PVC Pig rail! I started this post 2 years ago, but life got in the way and I’ve lost most of my photos/notes, etc. (or I do not currently have access to them). I’m sorry! So, I do not have exact measurements, but I think most could figure it out. I build mine by first assembling the box, then I lay the PVC elbows in each corner of the box and one tee in the center. I would measure the lengths between (be sure to include the little lip of the elbows/tee where the straight pipe piece inserts). Cut the straight PVC pieces according to your measurements and put it all together. I do not use glue and do not seem to need it. I set it in the box and then add screws at the corners/elbows (from the outside of the box into/thru the box) into the elbows at the height I want. I have found this the best way to secure it at the height I want (high enough that a puppy can get under the rail if/when they get behind momma). I’m sorry I don’t have the photos of one put together in the box!
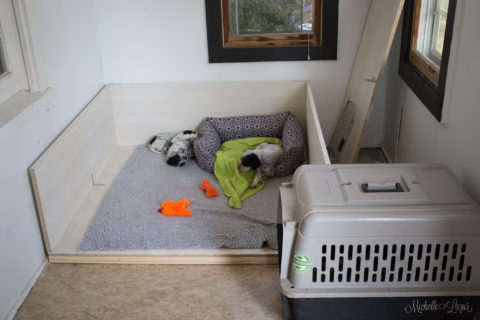
The Little Blessings in their puppy room.
These whelping boxes worked out fantastic for us and our needs.
Of course, you could opt to purchase the beautiful Magna Whelping Box from Revival Animal Health, instead.
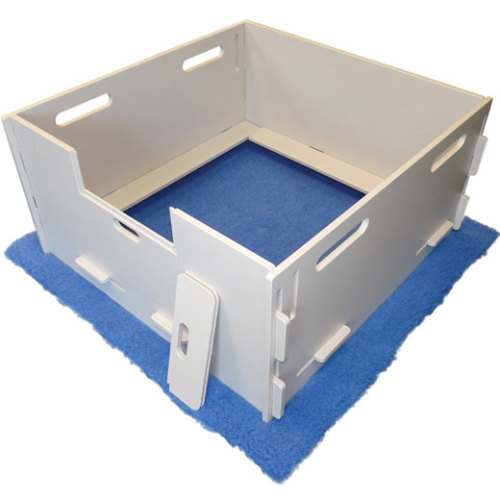
I love the Vet Fleece whelping pad, shown under the Magna Whelping box, too. It’s my absolute favorite and is incredibly absorbent.
I hope this helps someone.
Love,
M.