
Making of the LML 2016 Puppy Calendar
My mission is to help you have a healthier dog and breeders to raise healthier Llewellin Setters puppies through educational content based on over twenty years raising, training, and breeding Llewellin Setters. To help support these efforts, this page may contain affiliate links. I may earn a small commission for qualifying purchases at no cost to you.
Not exactly “Life with Llewellin Setters” related, but with the launch of the 2016 Llewellin Setter Puppy Calendar, I thought I would share the process I used in making it for those that have been writing and asking me how to make their own, or for those just curious.
For this year’s calendar, and to test the popularity of the puppy calendar to know how many to order next year, I decided to use a print-on-demand company and am trying lulu.com since I’ve heard such good reviews. They are also one of the only print-on-demand companies that I’ve found that print in a large format (13.5 x 19”), which was important to me. I wanted to create a calendar that is a work of art, if you will. One with large, beautiful images that are framable after the calendar year is over. I personally like a big calendar and a quality one at that. There are other print-on-demand companies, but the sizes offered and quality just didn’t seem up to the standards I wanted to create.
So, now that I’ve chosen Lulu.com as my company, they have a create your calendar web application that takes you through the process of choosing a design, uploading your photos, etc. Sounds easy-peasy right? Well, maybe the next one I do will be a bit easier, but this one, not-so-much. Hopefully, by sharing what I learned, your calendar creation will go easier and faster than mine.
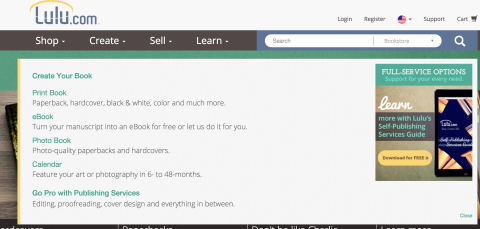
Go to lulu.com. Under the Create Menu, you can choose Calendar.
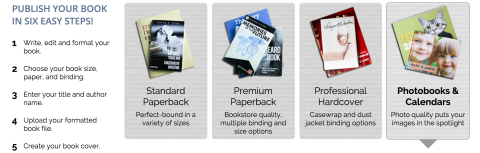
Next, you choose Photobooks & Calendars.
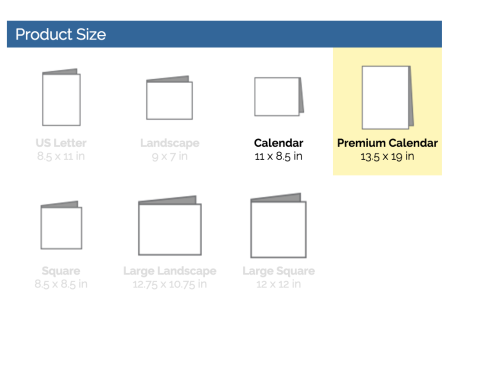
Next, you will have the choice of an 11 x 8.5 Calendar or the Premium 13.5 x 19 in Calendar. I choose the Premium Calendar. You will be prompted to create or sign in to your lulu.com account at this point.
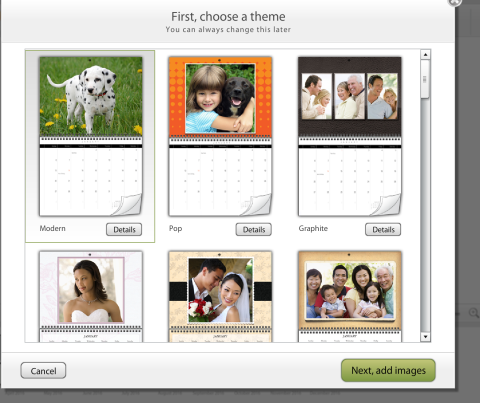
Once your account is created or you’ve signed in, the calendar creator app opens and you begin choosing your calendar options. First, you are prompted to pick a theme. There are several themes. I chose Modern because it seemed to offer the largest area for photos.
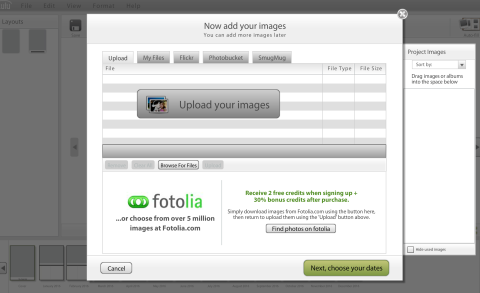
Next, you will add your images. You are offered a few options to add your images: Upload from your computer, Use files you may already have on lulu.com, Add photos from your Flickr, Photobucket, or SmugMug account. I had all of my images ready (or so I thought) on my computer, so I chose upload images. This is where all my troubles began.
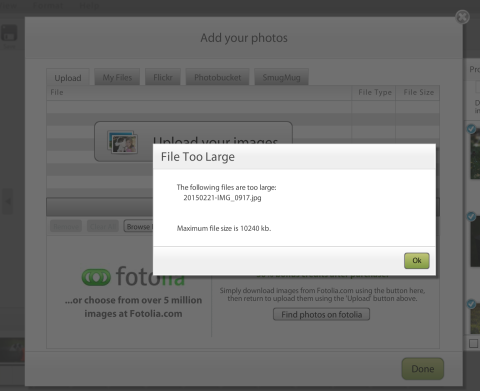
The problem(s) I encountered were with the size (crop, resolution, and file) of my photos. I had already spent, well, frankly, months collecting the photos I wanted to use and had created a directory of the photos. In it, I had exported full-resolution (300 dpi) jpg files (from the original RAW files). I assumed that is what I needed/wanted. However, as it turned out, most of my files were much larger (in file size) than the 10 MB allowed by lulu. Darn.
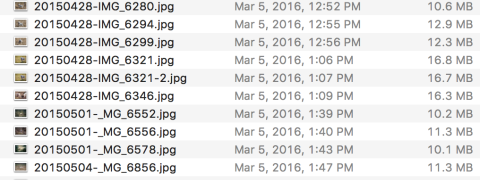
What ensued was hours and hours over days of going back through several external hard drives to find the original photo files. I would then try to either export at a lower resolution, one thing I did NOT want to do because I wanted the very best quality, and most of the time, that did not make the file size much smaller or at least under the 10 MB limit. The next thing was to try to crop the photo, which worked for a few of the photos, but most of the photos I could not crop further (or I would cut off part/most of the puppy). I had to go thru my catalogs of thousands of photos to find others that would work.
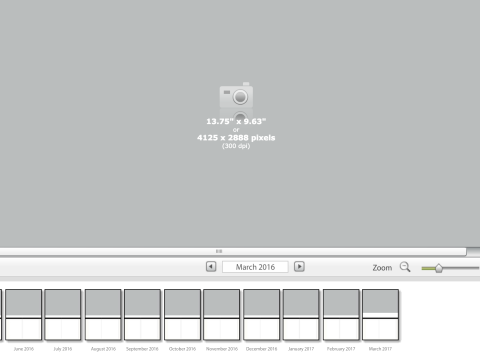
The lulu web application says the photo size needed is 13.75″ x 9.65″ inches or 4125 x 2688 pixels and at 300 dpi. Well, when I exported mine at those sizes, the file size was well over the 10MB.
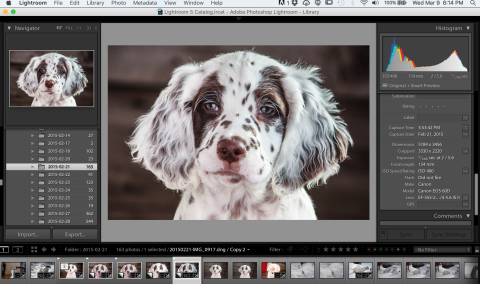
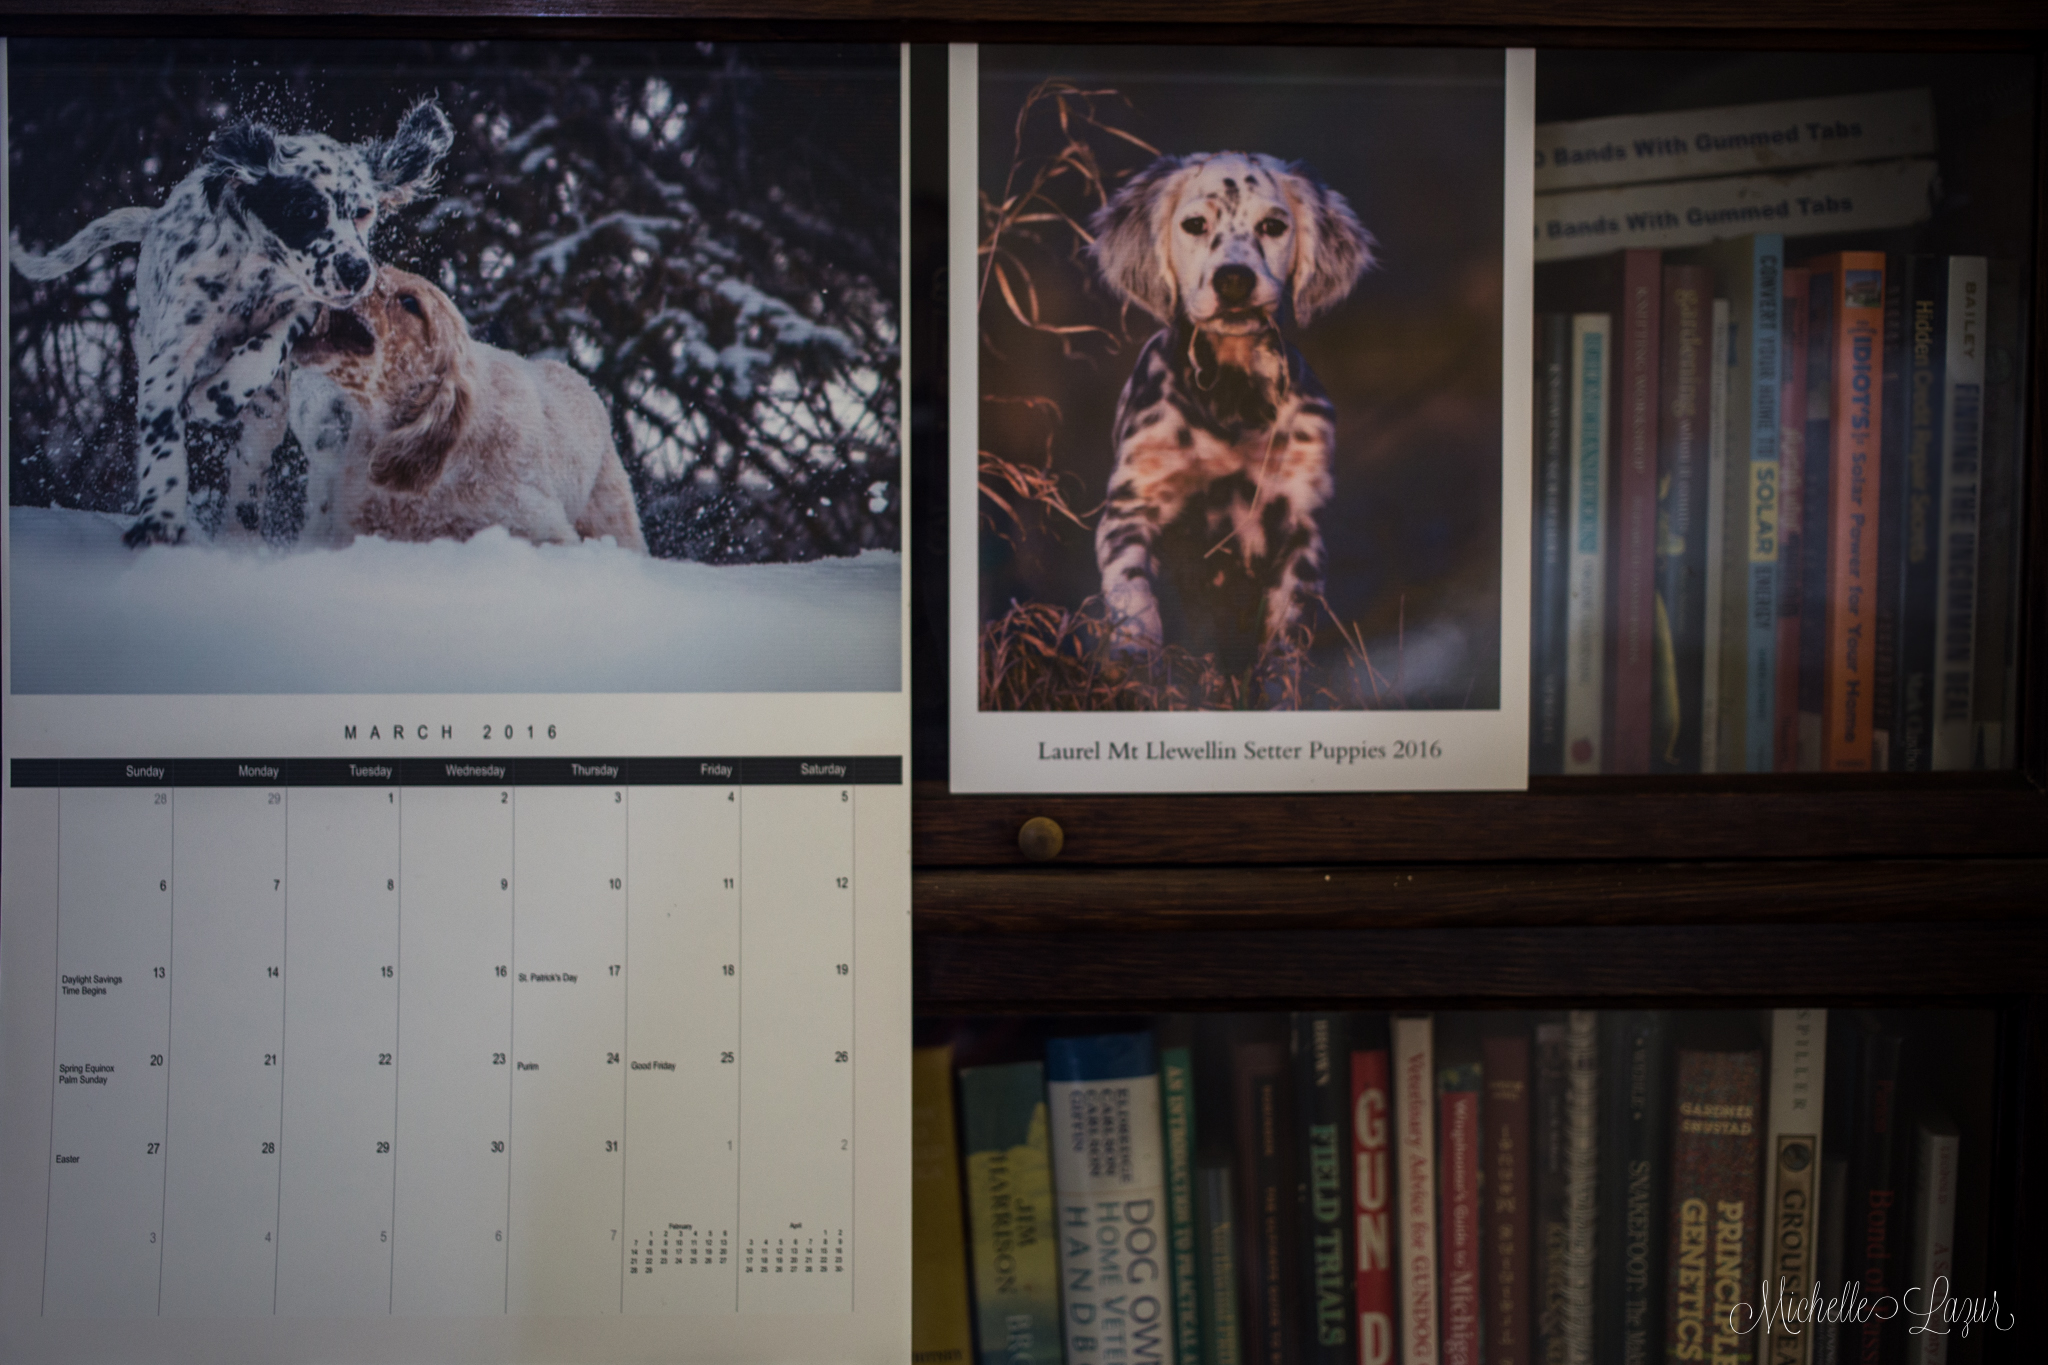
As you can see above, I really wanted to use this image for the calendar. But, as you can see in the metadata, the cropped size is 3330 x 2220. Even cropped and exported at 300 dpi, the file size was over 14 mb.
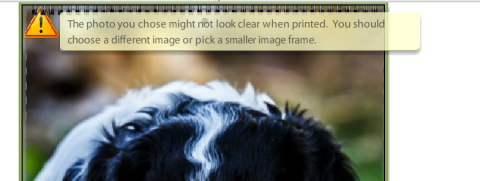
Even after cropping some and exporting at a dpi to which the file size was within the 10mb limit, when inserting into the calendar, I would receive errors that the image was not good enough and would not print clear! UGH.
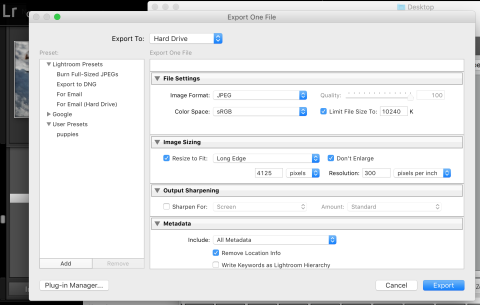
After hours of trial, error, and almost defeating frustration, I finally tried the above settings upon exporting from Lightroom. Under File Settings, I ticked the Limit File Size To: 10240k. I set the resizing to 4125 pixels wide on the Long Edge and ticked Don’t Enlarge (I didn’t want the image enlarged to this size if it wasn’t already this or larger and have the image end up looking blurry.) I set the resolution to 300 ppi. I unticked Sharpen for Screen and exported. Low and behold, the image that had been originally 14 mb, now ended up at 6.5 mb. And I think it looks okay–sharp.
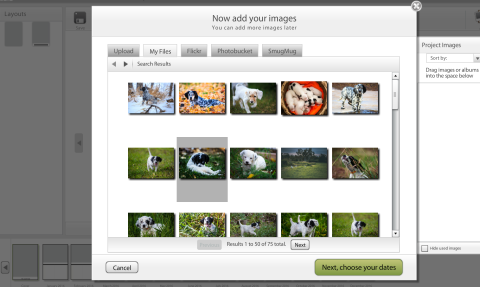
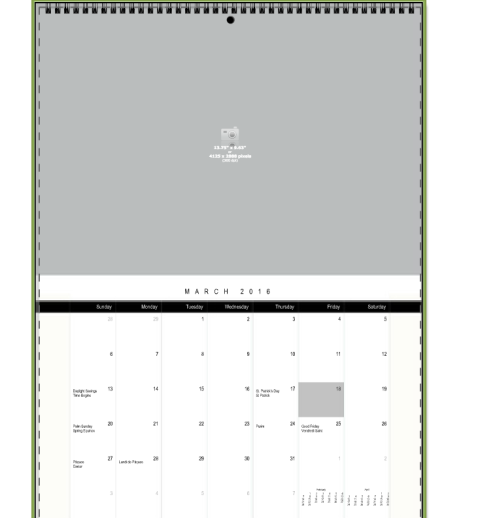
Once your images are finally uploaded, you can choose dates from lists of Holidays and you can even add your own special dates. You can then drag and drop your images into each calendar page or they offer an autofill option, which you can tweak. I wanted photos with snow to coincide with winter months, of course, fall photos to go with fall months, etc., so this took me a while.

Once you are happy with everything, you can preview each page, and edit, or Publish. The publishing takes a while. You can then decide on selling options or to keep it private. And then, finally you can place an order for your beautiful, printed creation! There are discounts for large quantity orders, etc.
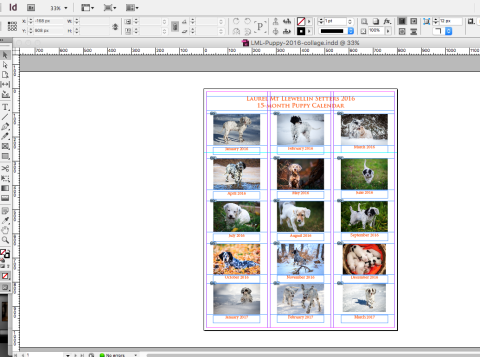
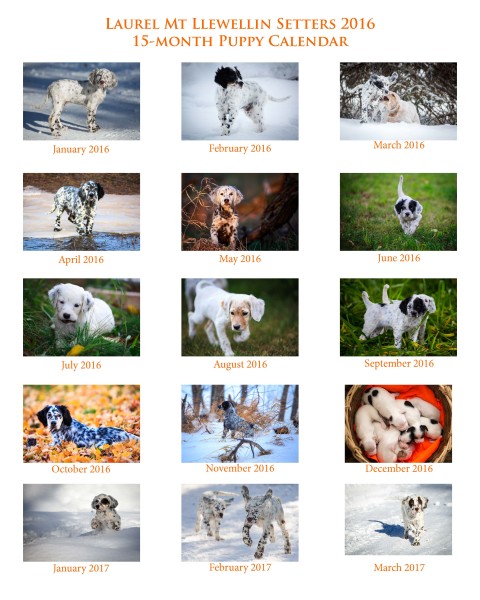
Next, I wanted to create a collage page with 15 thumbnails to show potential buyers all of the images. I used InDesign, creating columns and placing and importing the photos, and finally added the month text below each photo. After I was happy with everything, I exported it as a jpg file to use here on the website. Tada!
Now, you can create your own calendar for your business or organization, or just for you, family members, clubs, etc.
I hope you found this information helpful and even though not particularly Llewellin Setter related, you could make a calendar of your own Llewellin Setter. 🙂
If you’ve created a calendar with another service and would like to comment about it, please do.
-M.
P.S. Don’t forget to sign up for email list, where I announce most things first!
You must be logged in to post a comment.